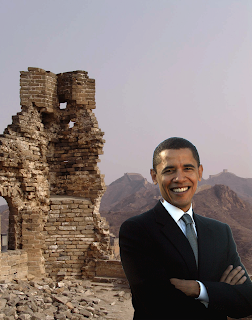
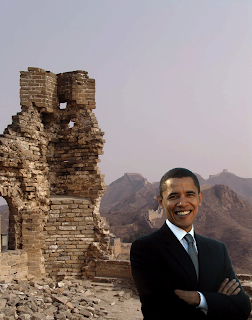
In Comm. Tech class, the past few days we've learnt about photoshop.
Ms. Silverman gave us two photos of Barack Obama and the great wall of china.
We had to go step by step using our new knowledge to transfer Obama to the great wall of China.
The first time we did the photoshop exercise we had it so that, we just cut him out, shrunk him and stuck him to the great wall. I liked it that way, it was easy and simple. My favourite.
The second time we had to do it, Ms Silverman gave us new steps using a tool called masks, or extract. Our little class of 12 pretty much got jumbled with frustration, but it was a learning experience.
So without a further a do, i give you the steps I used for both photos.
I went, and chose the normal lasso.
6. I needed certain parts of the background cut out that i had gotten while going over Obama, so I pressed alt and went over the parts I didn't need.
Then Viola! Obama's at the great wall of China .

Photo2
1. I selected the photos I needed, from the pick up folder on the computer.
2. Then, I went to my tools menu and chose the magnetic lasso.
3. I slowly went around his body, trying not to cut any of him off. ( that still didn't go so well)
4. After when he looked like he had an army of ants around him because of the magnetic lasso I went, and chose the normal lasso.
5. With the normal Lasso I pressed shift while getting the pieces i needed that I had cut from his body.
6. I needed certain parts of the background cut out that i had gotten while going over Obama, so I pressed alt and went over the parts I didn't need.
7. Once again, when he was perfect I moved him over with the move tool.
8. Noticing that this time he had a little bit of a Halo I maximized him and with a small eraser I went over his whole body getting rid of the halo.
9. After I was done I shrunk him down, moved him where I wanted him and made sure it looked good.

Viola! Once again, Obama's on the great wall of China.

No comments:
Post a Comment